

Creation
To create a jail, click on the Create Jail button on the top right corner of the app. This will open a form where you can enter the details of your jail.
For this example we’re going to be setting up a simple FreeBSD 15 jail with inherited network stack, but you can create all sorts of different jails with different configurations using the same form, so feel free to experiment with it and see what works best for your specific use case.
Basic Information
Section titled “Basic Information”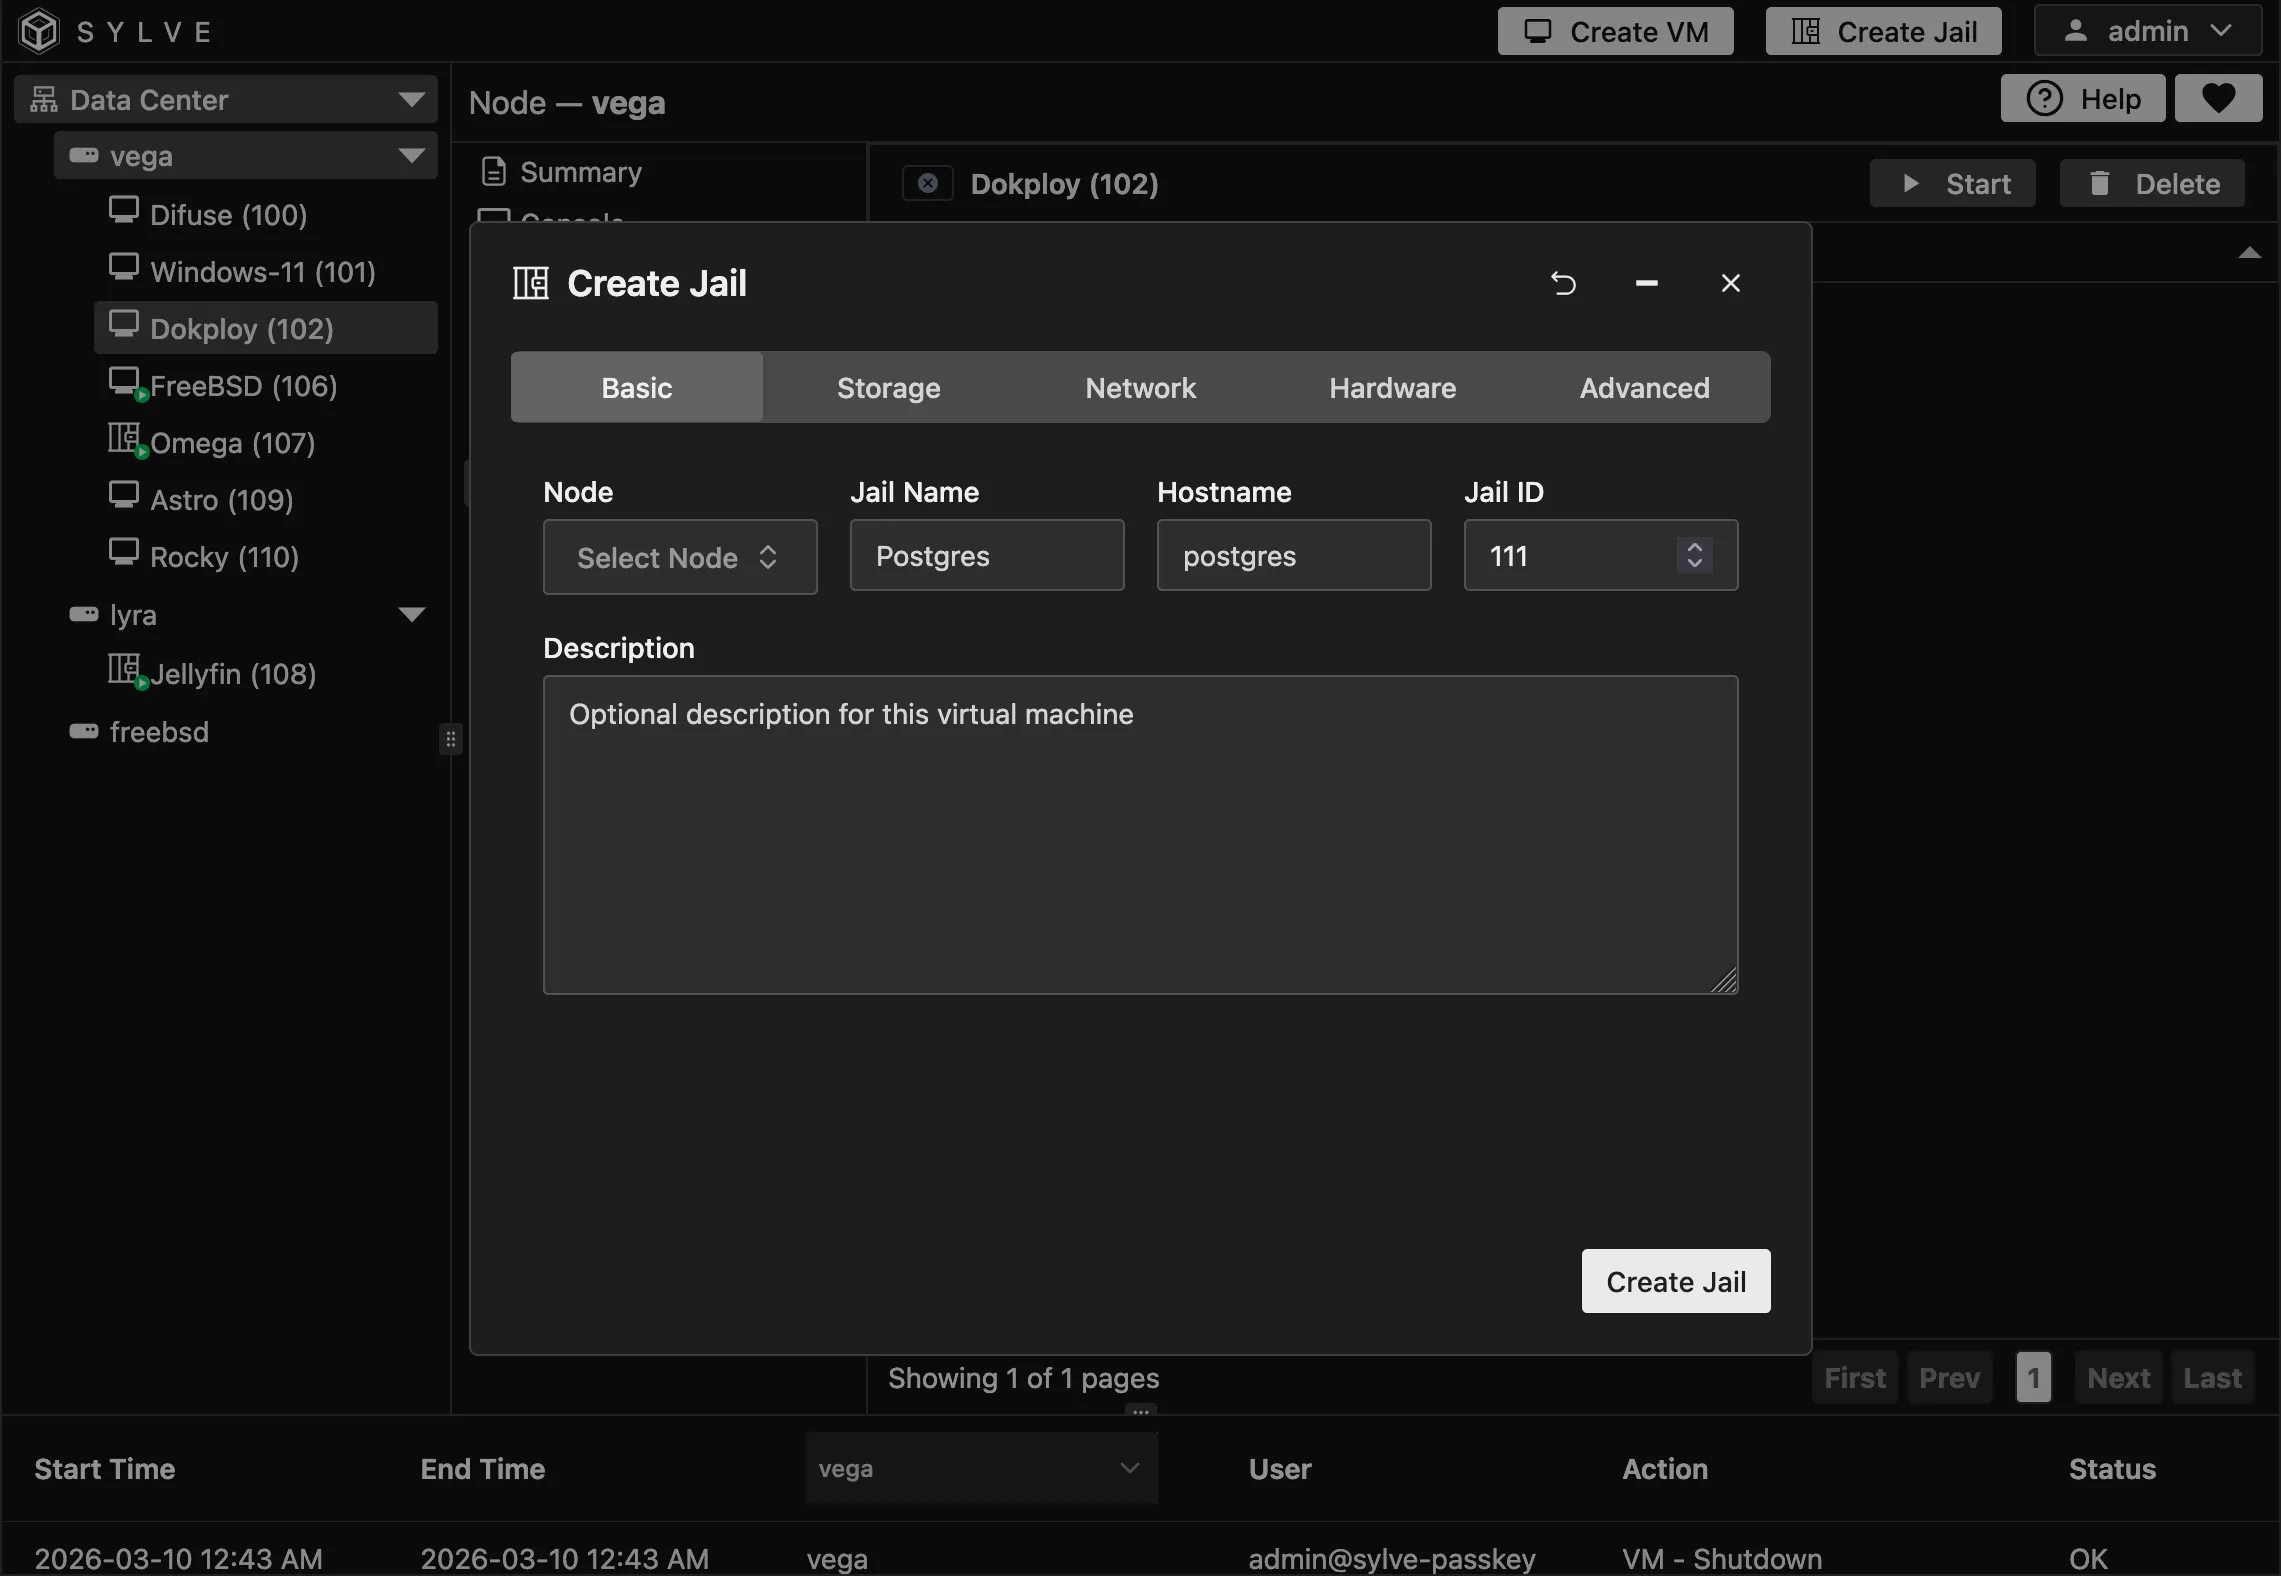
In the Basic tab, there are a few fields that you need to fill out:
-
Node: The node this jail belongs to, this select box will only show up if you’re in a cluster.
-
Jail Name: Name for the jail you’re about to create
-
Hostname: The hostname for the jail, this is optional but it’s good to set it to something meaningful, especially if you’re going to be running multiple jails on the same host.
-
Jail ID: This is a number between 1-9999, it HAS to be unique cluster-wide, if you are clustered that is.
-
Description: An optional description for the jail you are about to create.
Storage
Section titled “Storage”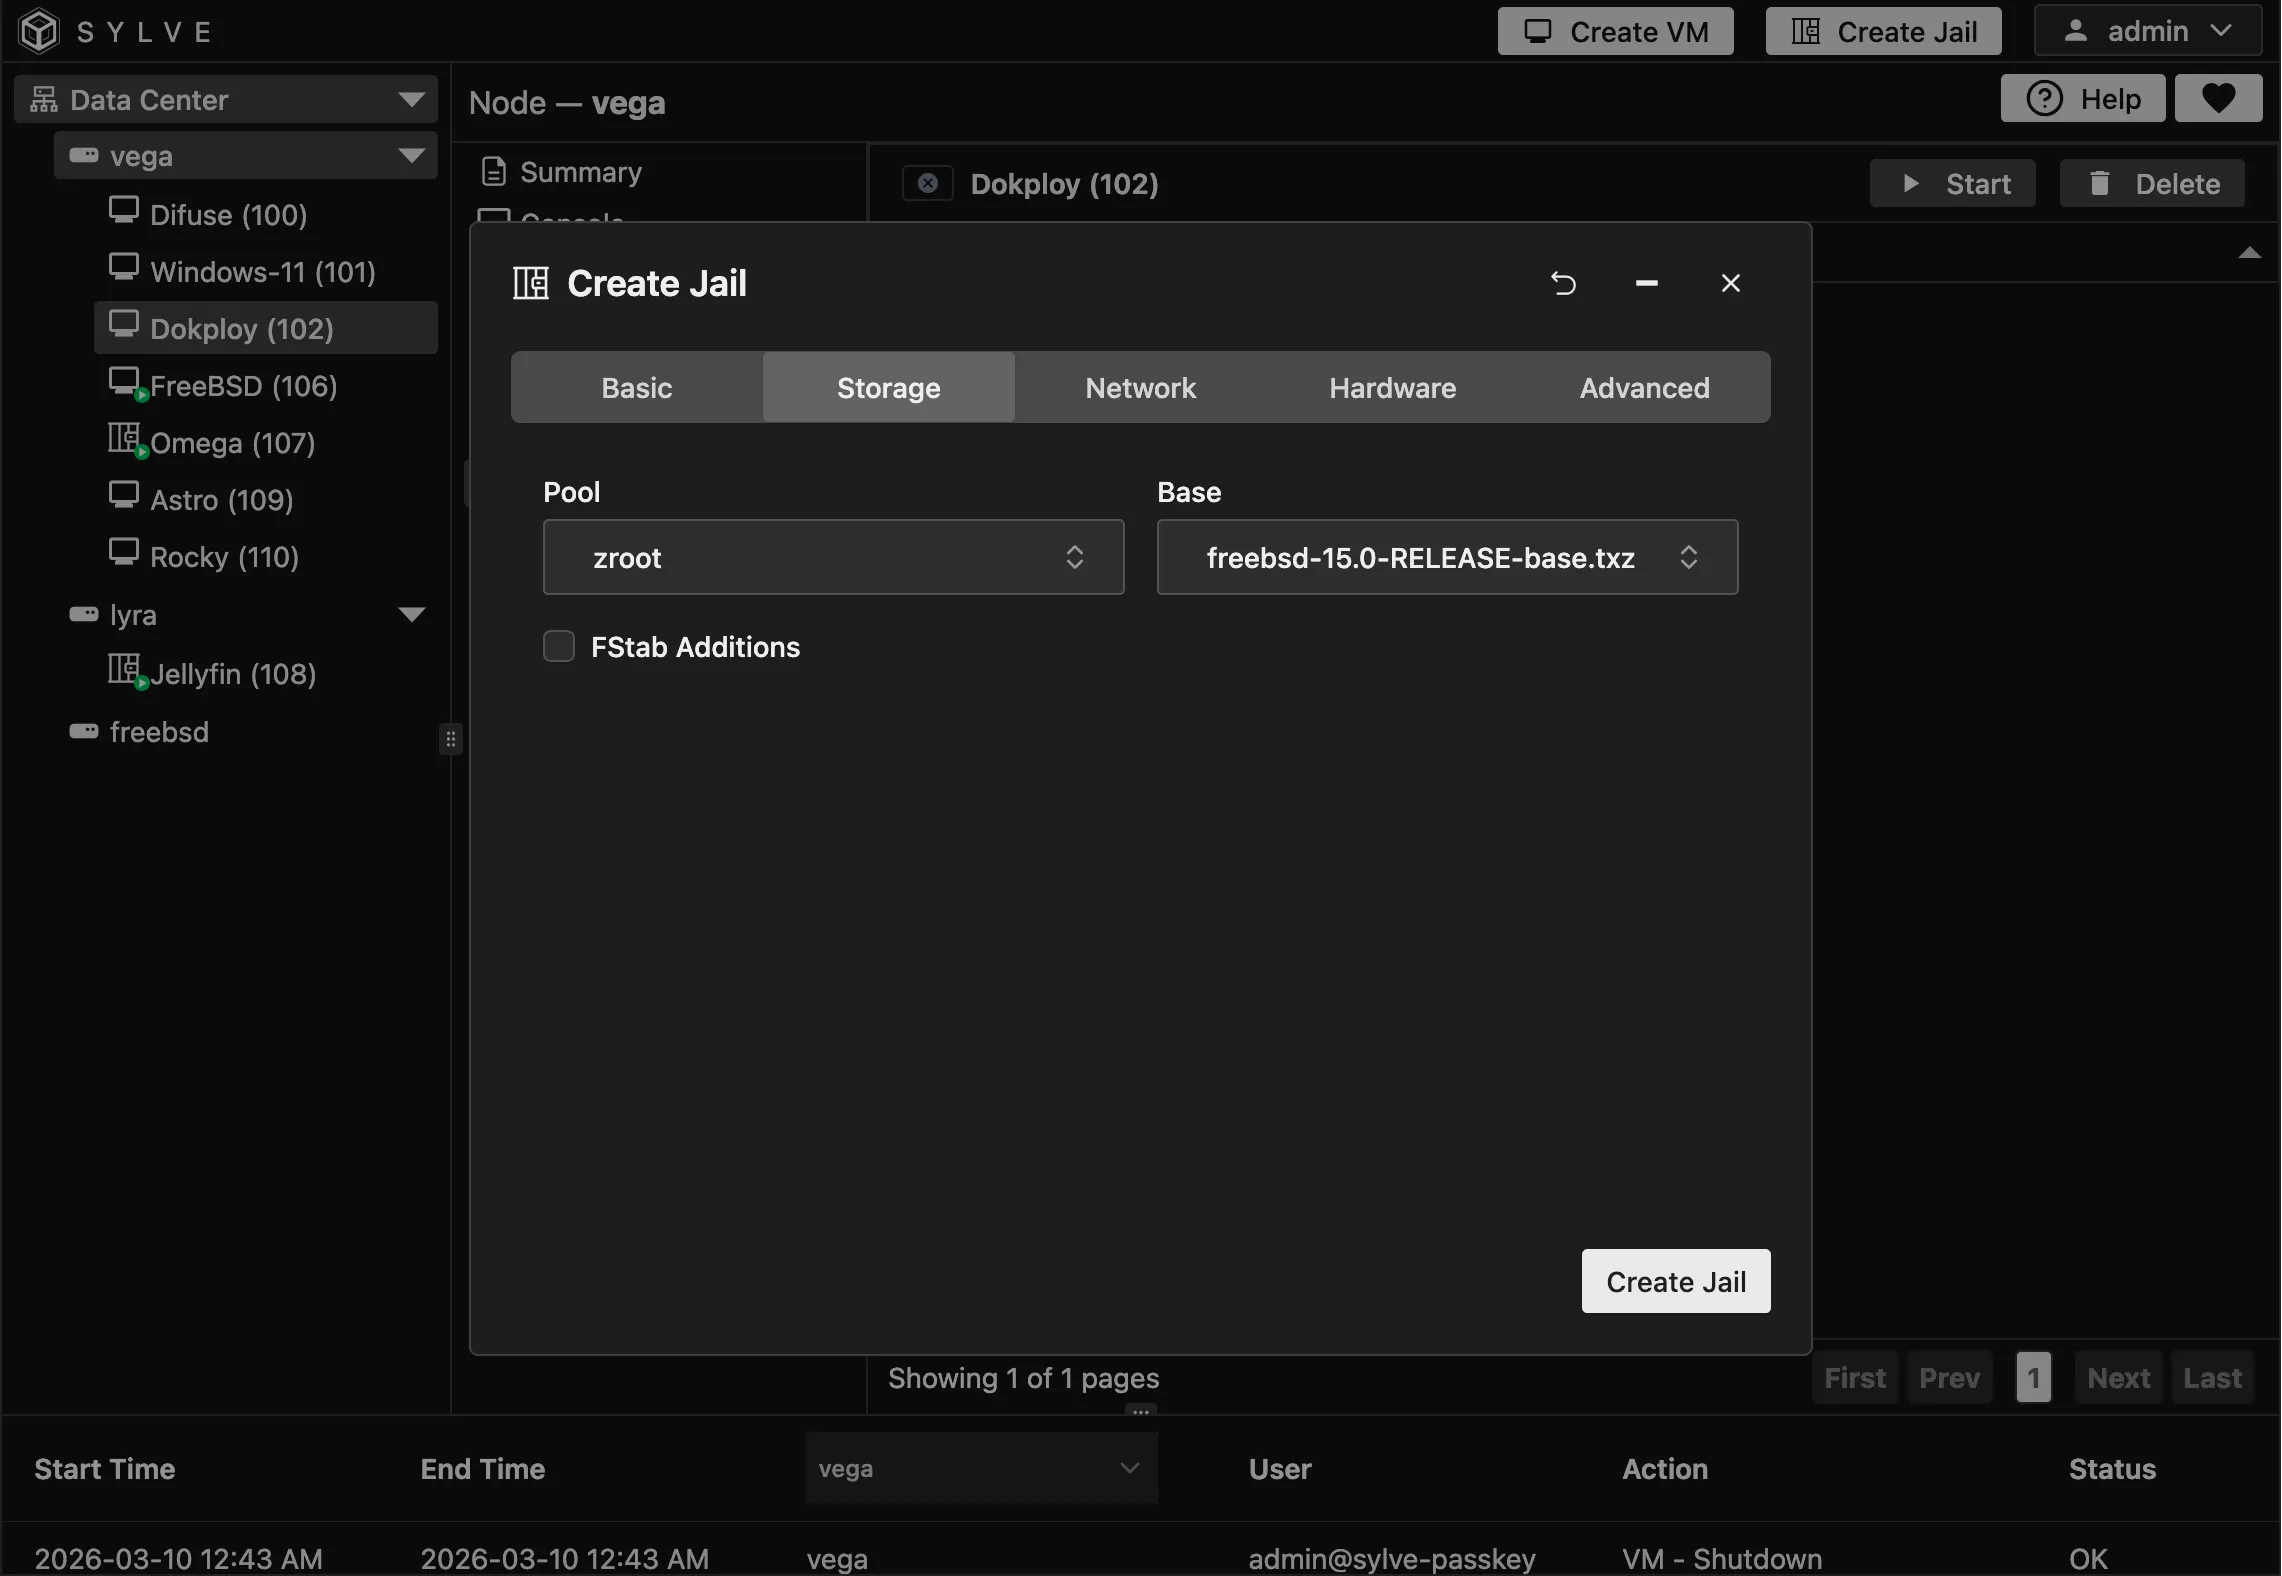
In the Storage tab, you can select the dataset where (pool) the jail’s root filesystem will be created, you also have to select a base that you downloaded. You can download a base.txz from https://download.freebsd.org/releases/amd64/15.0-RELEASE/base.txz using the downloader (rememeber to select the correct architecture and version) and also to enable extraction in the downloader.
You should have also set the download type to Base/RootFS for the selectbox here to contain the downloaded base.txz.
Network
Section titled “Network”
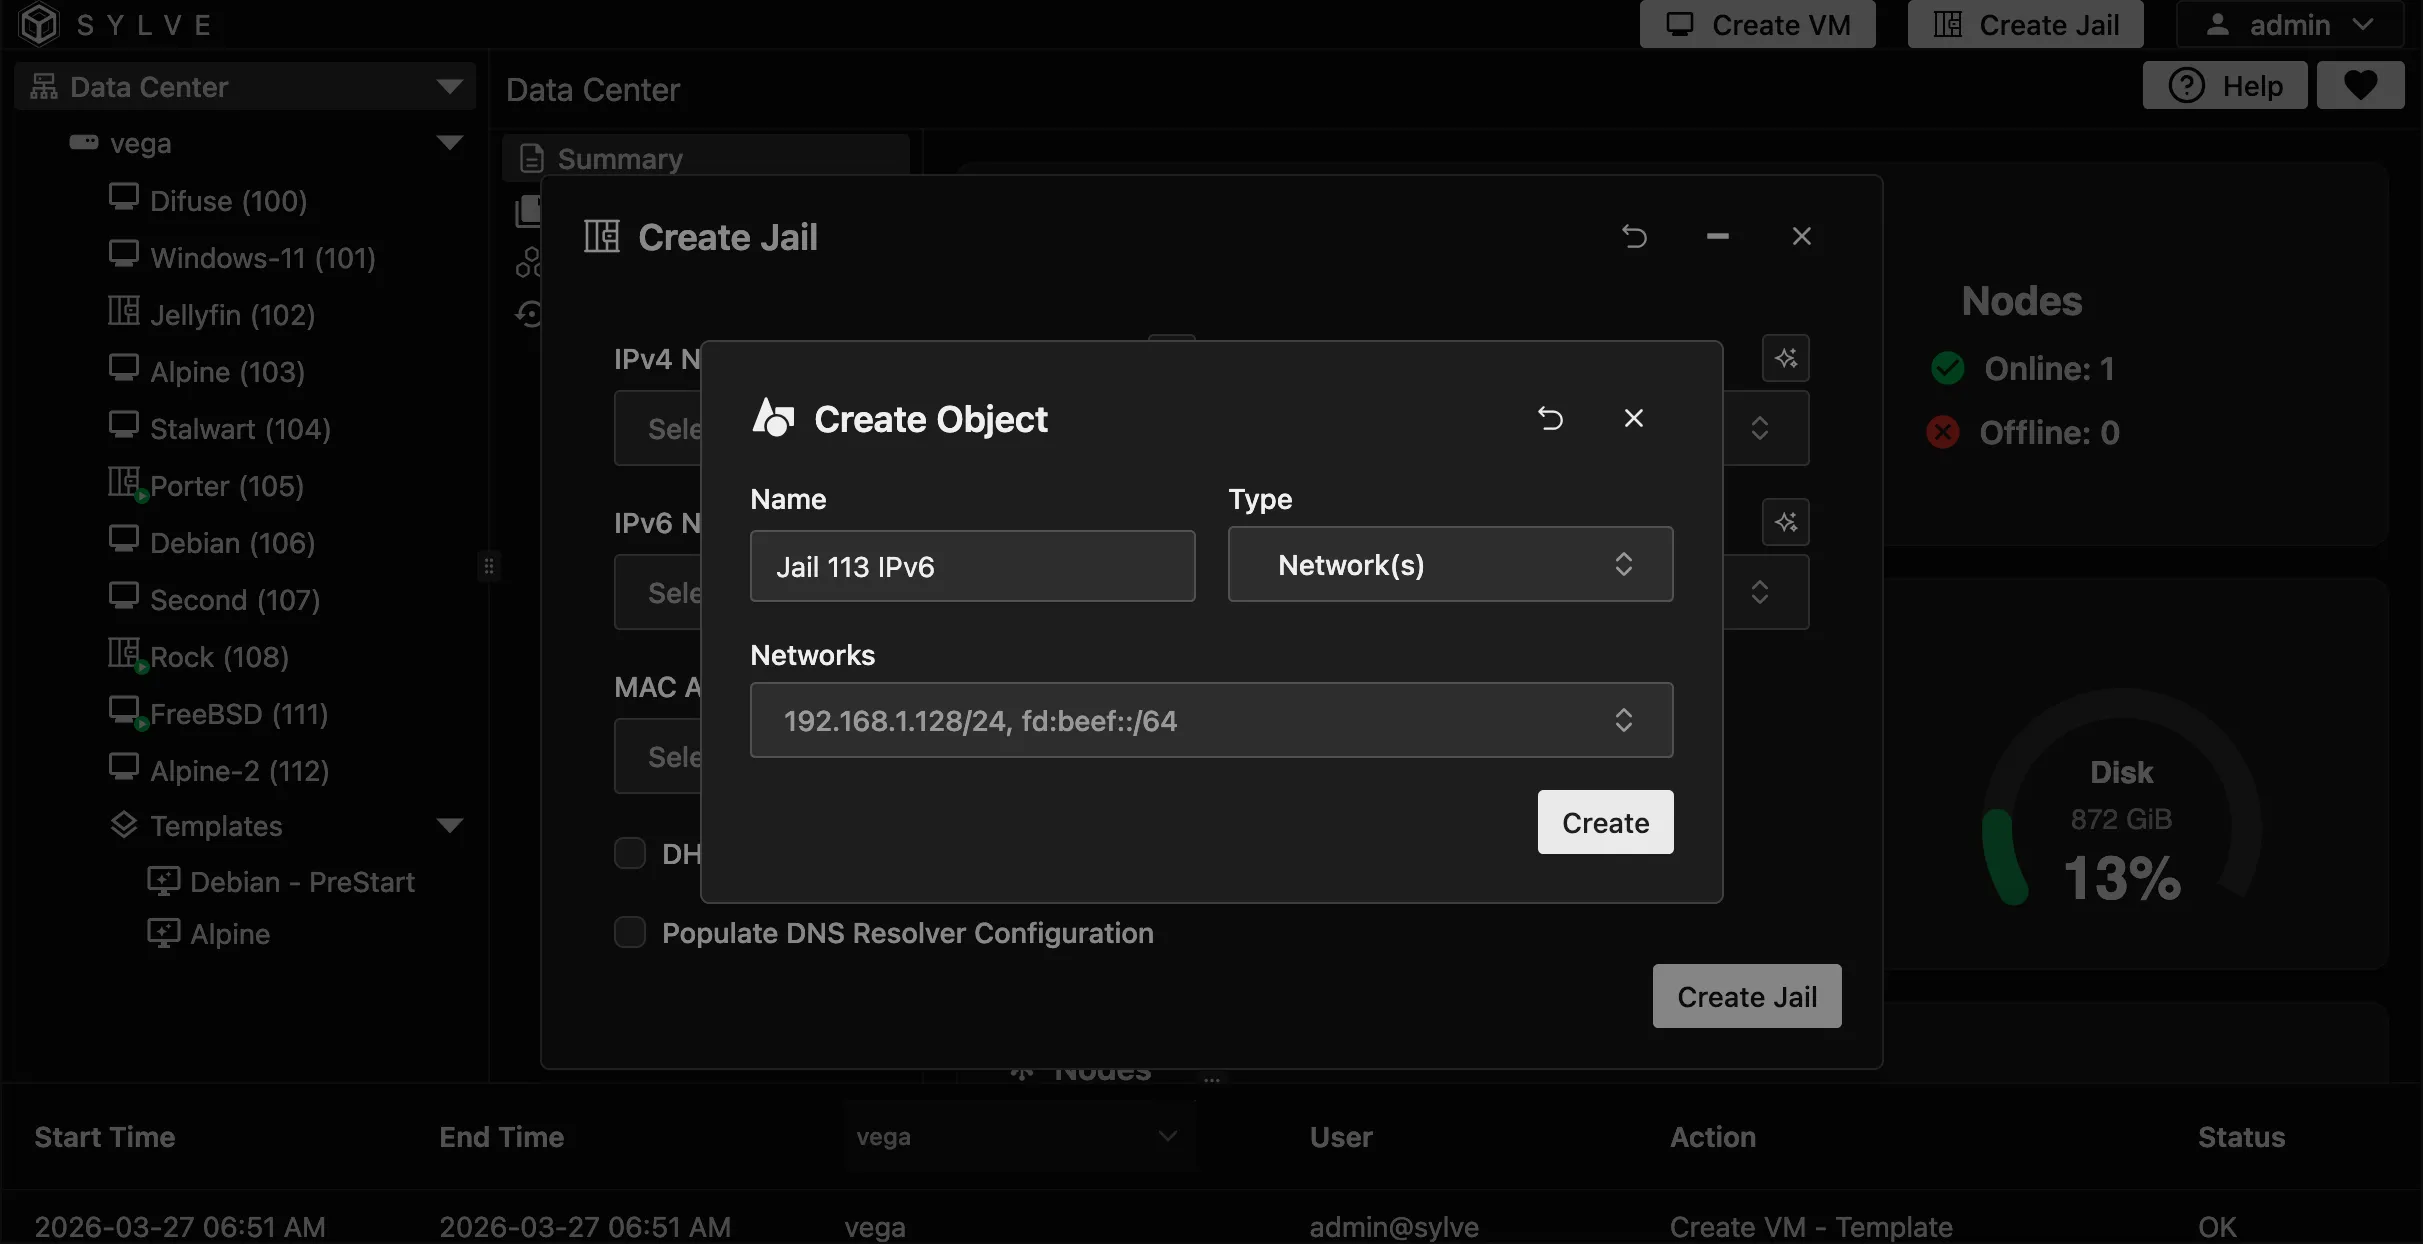
You can attach your Jail to a bridge and get DHCP/SLAAC or even use static IPs (actually better), but to keep things simple lets just use “inherited” networking, this means the jail will share the host’s network stack, this is the simplest way to get your jail connected to the network, but it has some limitations, for example you won’t be able to use port forwarding or have multiple jails with the same IP address, but it’s a good option if you just want to get your jail up and running quickly without having to worry about networking.
If you do want to use Static IPs (especially since only inherited/static IPs are supported for Linux jails), you can click on the generate button on the top right of each network object select box that will allow you to create Network Objects on the fly without having to leave the form. Be sure to give just one entry!
Hardware
Section titled “Hardware”Jail hardware provisioning isn’t an exact science, it’s more about setting limits and reservations for the resources that the jail will use, but it doesn’t actually “provision” hardware like in a VM, so if you assign 2 CPU cores to a jail, it doesn’t mean that the jail will always use those 2 cores, it just means that the jail can use up to 2 cores if it needs to, but it can also use less if it doesn’t need that much.
If your Jails don’t misbehave and use too much resources you can actually uncheck the “Resource Limits” checkbox and let them use as much resources as they need, but if you want to be on the safe side you can set some limits here to prevent a misbehaving jail from taking down your whole system. You can also specify a custom devfs ruleset here which is very important for things like GPU “sharing” etc.
Another thing you can set here is the boot order which is pretty self-explanatory.
Advanced
Section titled “Advanced”The Advanced tab gives you control over jail runtime behavior and low-level jail.conf options.
You can choose either a FreeBSD jail type or Linux (Experimental). The selection applies a sensible template automatically. FreeBSD defaults to traditional exec.start and exec.stop scripts (/bin/sh /etc/rc and /bin/sh /etc/rc.shutdown) with a conservative allowed option set, while Linux defaults to mount and compatibility options suited for Linux jails and leaves start/stop scripts disabled.
Beyond type selection, this page also lets you tune allowed capability flags (allow.*), choose whether to run with a clean environment, add raw custom jail config text, and define metadata values for meta and env as KEY=VALUE pairs.
The lifecycle hooks editor supports all exec.* phases (prestart, start, poststart, prestop, stop, poststop) with per-phase enable toggles and script bodies.