Technitium DNS in a Jail
Introduction
Section titled “Introduction”Technitium DNS is a powerful and flexible DNS server that can be easily deployed in a FreeBSD jail using Sylve. This guide will walk you through the steps required to set it up, allowing you to manage your DNS services efficiently and securely.
Prerequisites
Section titled “Prerequisites”Before we begin, make sure you have the following:
- FreeBSD system with Sylve installed (see Getting Started).
- Network access to download packages.
Step 1: Create a Jail
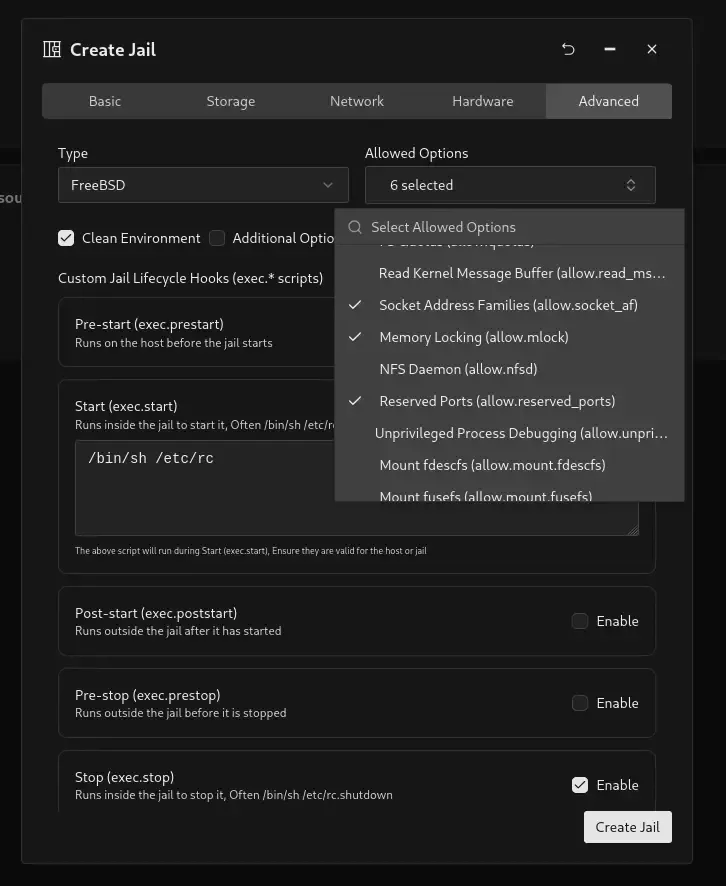
Section titled “Step 1: Create a Jail”Please follow the instructions in the Jellyfin Jail Guide to create a new jail for Technitium DNS. We’re going to name our jail TechnitiumDNS with the hostname technitiumdns.
One important thing to note is that since Technitium DNS is a dotnet based application you need to select the Memory Locking option in Allowed Options for it to work, along with the other default options for a FreeBSD Jail that is pre-selected when creating a new jail.
Step 2: Installing Dotnet 10
Section titled “Step 2: Installing Dotnet 10”As of writing dotnet 10 is not available in the ports tree, so we will need to install it manually.
First we install compat14x-amd64 package which is required for dotnet 10 to work (on FreeBSD 15+ jail bases):
pkg install misc/compat14xWe also need to install some runtime dependencies for dotnet 10 to work:
pkg install libunwind icu libinotifyOnce that is done we can proceed to install Dotnet binaries provided by sec.
mkdir -p /opt/dotnet10cd /opt/dotnet10fetch https://github.com/sec/dotnet-core-freebsd-source-build/releases/download/10.0.103-vmr/dotnet-sdk-10.0.103-freebsd.14-x64.tar.gztar xzf dotnet-sdk-10.0.103-freebsd.14-x64.tar.gzrm -rf dotnet-sdk-10.0.103-freebsd.14-x64.tar.gzOnce the binaries are extracted we can try to run dotnet to see if it works:
DOTNET_OPENSSL_VERSION_OVERRIDE=35 /opt/dotnet10/dotnet --infoIf everything is working correctly you should output similar to this:
root@technitiumdns:/opt/dotnet10 # DOTNET_OPENSSL_VERSION_OVERRIDE=35 /opt/dotnet10/dotnet --info.NET SDK: Version:           10.0.103 Commit:            c2435c3e0f Workload version:  10.0.100-manifests.a62d7899 MSBuild version:   18.0.11+c2435c3e0
Runtime Environment: OS Name:     FreeBSD OS Version:  15 OS Platform: FreeBSD RID:         freebsd.14-x64 Base Path:   /opt/dotnet10/sdk/10.0.103/
.NET workloads installed:There are no installed workloads to display.Configured to use workload sets when installing new manifests.No workload sets are installed. Run "dotnet workload restore" to install a workload set.
Host:  Version:      10.0.3  Architecture: x64  Commit:       c2435c3e0f
.NET SDKs installed:  10.0.103 [/opt/dotnet10/sdk]
.NET runtimes installed:  Microsoft.AspNetCore.App 10.0.3 [/opt/dotnet10/shared/Microsoft.AspNetCore.App]  Microsoft.NETCore.App 10.0.3 [/opt/dotnet10/shared/Microsoft.NETCore.App]
Other architectures found:  None
Environment variables:  DOTNET_OPENSSL_VERSION_OVERRIDE          [35]
global.json file:  Not found
Learn more:  https://aka.ms/dotnet/info
Download .NET:  https://aka.ms/dotnet/downloadroot@technitiumdns:/opt/dotnet10 #
Now we have dotnet 10 installed and working in our jail, we can proceed to install Technitium DNS.
Step 3: Installing Technitium DNS
Section titled “Step 3: Installing Technitium DNS”The following steps will download and extract the latest version of Technitium DNS in the /opt/technitium-dns directory. You can change this path if you want to install it somewhere else.
mkdir -p /opt/technitium-dnscd /opt/technitium-dnsfetch https://download.technitium.com/dns/DnsServerPortable.tar.gztar xzf DnsServerPortable.tar.gzrm -rf DnsServerPortable.tar.gzNow once that is done, we can run test it manually with the following command:
cd /opt/technitium-dnsDOTNET_OPENSSL_VERSION_OVERRIDE=35 DOTNET_ROOT=/opt/dotnet10 PATH=/opt/dotnet10:$PATH /opt/dotnet10/dotnet DnsServerApp.dllIf everything went right, you should see the Technitium DNS server starting up and outputting logs in the terminal like this:
root@technitiumdns:/opt/technitium-dns # DOTNET_OPENSSL_VERSION_OVERRIDE=35 DOTNET_ROOT=/opt/dotnet10 PATH=/opt/dotnet10:$PATH /opt/dotnet10/dotnet DnsServerApp.dllTechnitium DNS Server was started successfully.Using config folder: /opt/technitium-dns/config
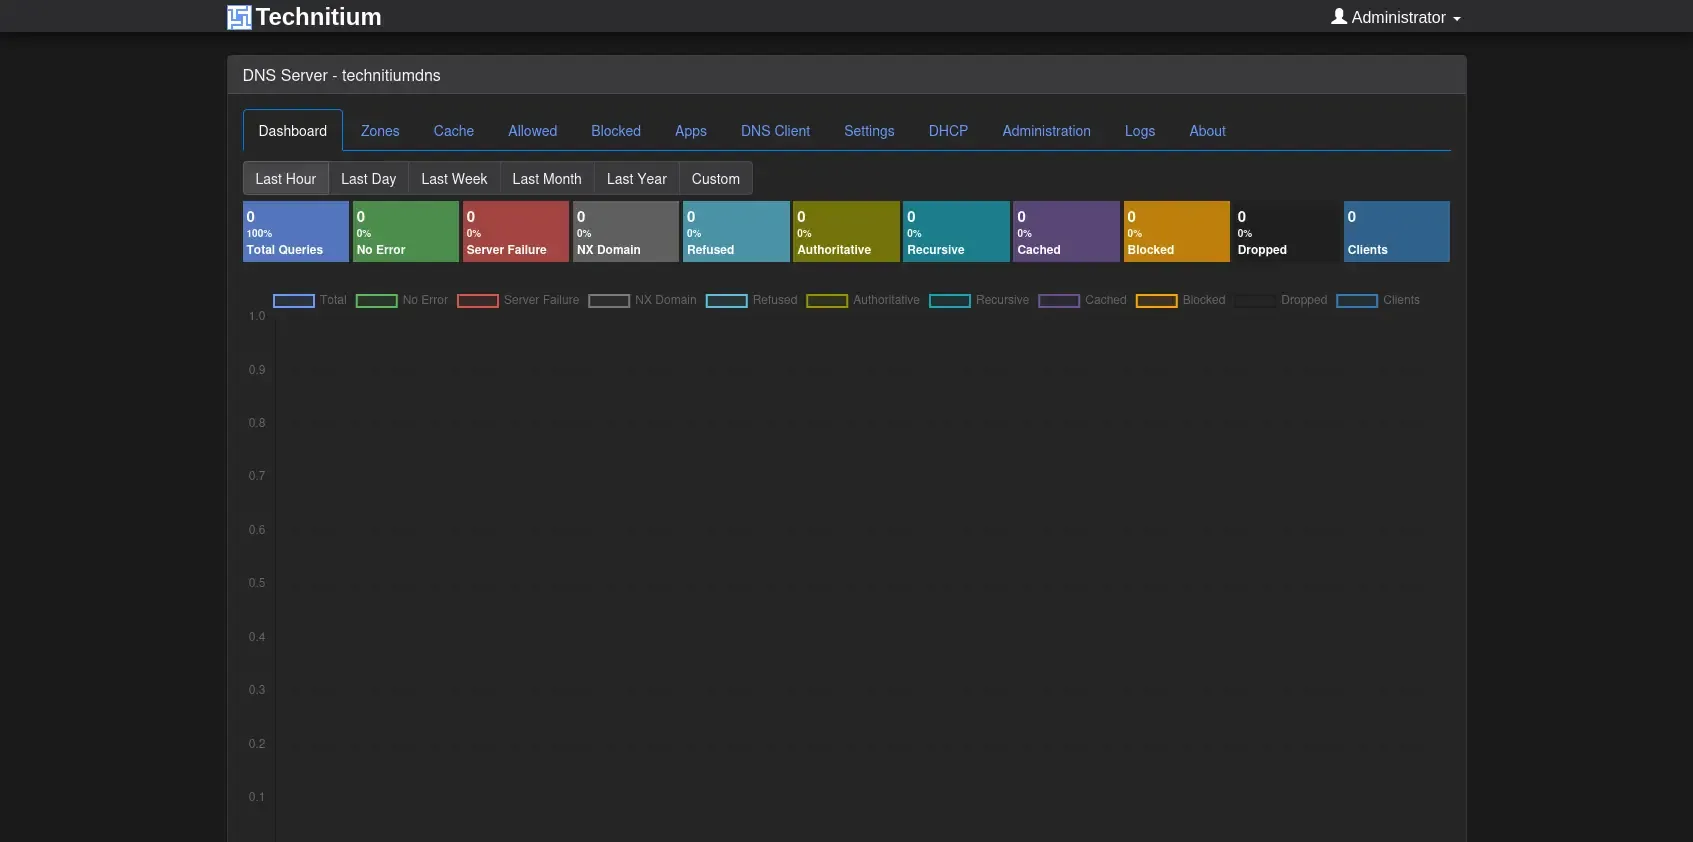
Note: Open http://technitiumdns:5380/ in web browser to access web console.
Press [CTRL + C] to stop...Step 4: Setting Up as a Service
Section titled “Step 4: Setting Up as a Service”Now we don’t really want to run the server manually every time, so let’s set it up to run as a service, the following commands will create a new service file for Technitium DNS and enable it to start on boot:
mkdir -p /usr/local/etc/rc.d
cat > /usr/local/etc/rc.d/technitium <<'EOF'#!/bin/sh
# PROVIDE: technitium# REQUIRE: LOGIN# KEYWORD: shutdown
. /etc/rc.subr
name="technitium"rcvar="technitium_enable"
load_rc_config "$name"
: ${technitium_enable:="NO"}: ${technitium_user:="root"}: ${technitium_dir:="/opt/technitium-dns"}: ${technitium_dotnet:="/opt/dotnet10/dotnet"}: ${technitium_dotnet_root:="/opt/dotnet10"}: ${technitium_openssl_override:="35"}
pidfile="/var/run/${name}.pid"procname="${technitium_dotnet}"command="/usr/sbin/daemon"
command_args="-f -p ${pidfile} -u ${technitium_user} /usr/bin/env \DOTNET_OPENSSL_VERSION_OVERRIDE=${technitium_openssl_override} \DOTNET_ROOT=${technitium_dotnet_root} \PATH=${technitium_dotnet_root}:/sbin:/bin:/usr/sbin:/usr/bin:/usr/local/sbin:/usr/local/bin \${technitium_dotnet} ${technitium_dir}/DnsServerApp.dll"
run_rc_command "$1"EOF
chmod +x /usr/local/etc/rc.d/technitiumsysrc technitium_enable=YESservice technitium start
Now Technitium DNS should be running as a service and will start automatically on boot. You can check the status of the service with the following command:
service technitium statusTo check if the ports are listening correctly, you can use the following command:
sockstat -4 -l | grep -E '(:53|:5380)'The output of which should look something like this:
root dotnet 93068 228 tcp46 *:5380 *:*root dotnet 93068 229 udp4 *:53 *:*root dotnet 93068 230 tcp4 *:53 *:*Now you can access the Technitium DNS web console by going to http://<ip>:5380/ in your web browser. You should see the login page where you can change the default credentials and start configuring your DNS server!