

Server
Sylve’s WireGuard server accepts remote peers on the node and creates the wgs0 tunnel interface. Enable the WireGuard system service from System Settings → Services before initializing it.
This page is for clients connecting to this node. To make the node connect to a remote VPN provider or another WireGuard server, use Clients.
What you can do with it
Section titled “What you can do with it”WireGuard creates a private encrypted network between the node and devices or sites you trust. A typical first use is giving your laptop or phone a tunnel address, then exporting a configuration that its WireGuard app can import. After connecting, that device can reach services on the node and networks you deliberately route through it without exposing each service directly to the internet.
You can also connect two locations. Give the remote router or server its own peer, add the remote LAN under Routable IPs, and enable Route above IPs. Sylve then knows that traffic for that remote LAN should travel through the encrypted tunnel.
Initialize the server
Section titled “Initialize the server”Set the listening port and one or more tunnel addresses, then choose Initialize Server. Sylve generates a private key when the private-key field is left empty. Tunnel addresses must be CIDRs, for example 10.20.30.1/24 and fd42:20:30::1/64.
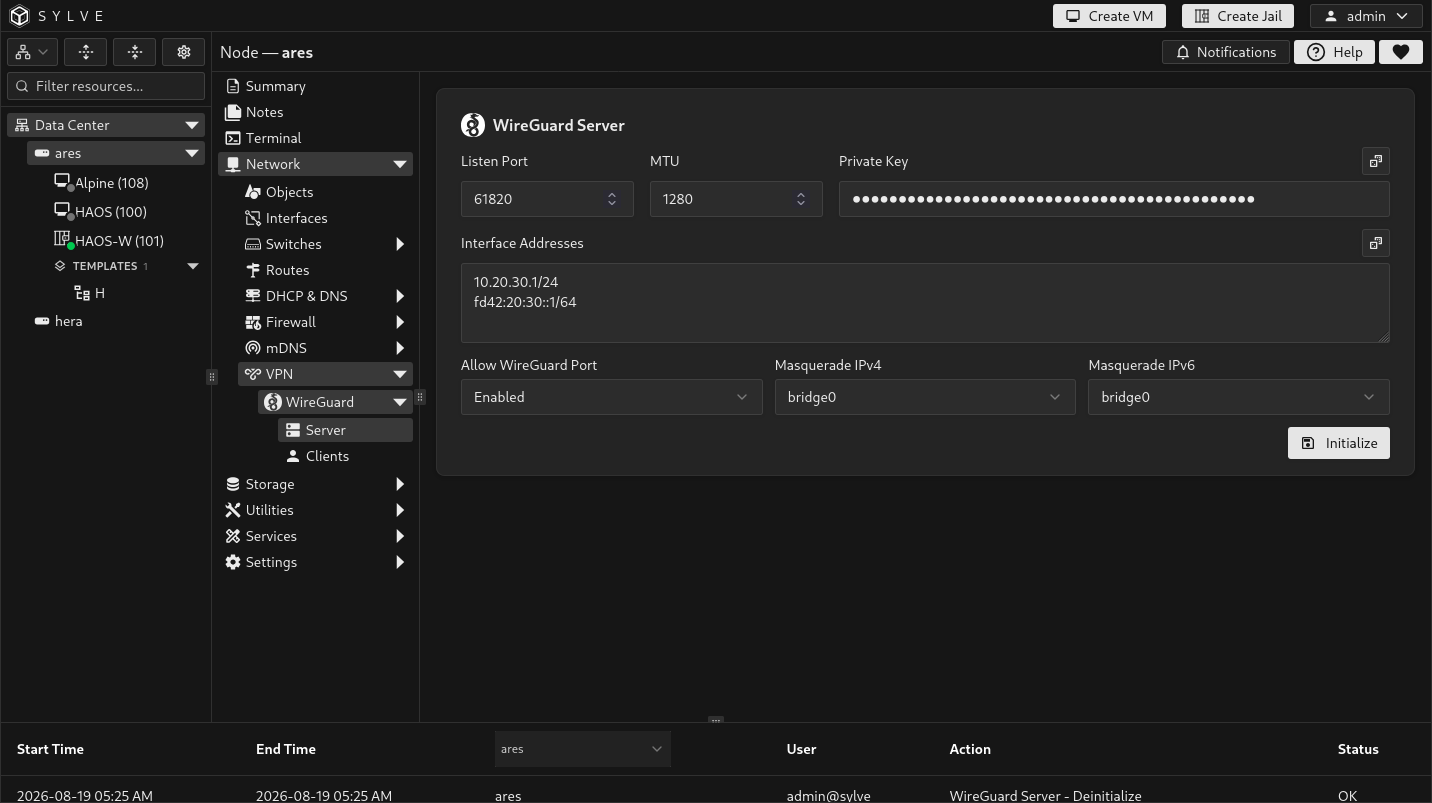
For a simple remote-access setup, choose a private range that does not overlap your home or office networks. For example, use 10.20.30.1/24 for the server and assign 10.20.30.2/32 to your first phone or laptop peer. A /32 is one IPv4 address. The server’s /24 leaves room for more peers later.
| Field | What it controls |
|---|---|
| Port | UDP port on which the server listens. Choose an unused port from 1 to 65535. |
| Addresses | One or more IPv4 and/or IPv6 CIDRs assigned to wgs0. Peers should receive addresses from these tunnel networks. |
| MTU | Tunnel MTU. Sylve accepts 576 through 9000; an IPv6 tunnel requires at least 1280. The default is 1280. |
| Private Key | The server’s WireGuard private key. Leave it blank during initialization to generate one, or provide a valid WireGuard key when restoring an existing identity. |
| Allow WireGuard Port | Creates a Sylve-managed firewall rule that allows inbound UDP traffic to the selected server port. |
| Masquerade IPv4 Interface | Selects the outbound interface used to NAT IPv4 traffic from peers. It is available only when the server has an IPv4 tunnel address. |
| Masquerade IPv6 Interface | Selects the outbound interface used to NAT IPv6 traffic from peers. It is available only when the server has an IPv6 tunnel address. |
Sylve creates and maintains its WireGuard-related firewall and NAT entries as managed rules. Do not try to duplicate them manually. Disabling the server removes its active managed policy; re-enabling it restores the policy from the server configuration.
Server status and lifecycle
Section titled “Server status and lifecycle”After initialization, the page shows the server state, tunnel details, transfer counters, and peer list. Use Disable to take the server and its peers offline while retaining their configuration. Use Enable to restore it. Deinitialize removes the server configuration and all server peers, so export or record any peer configuration you still need first.
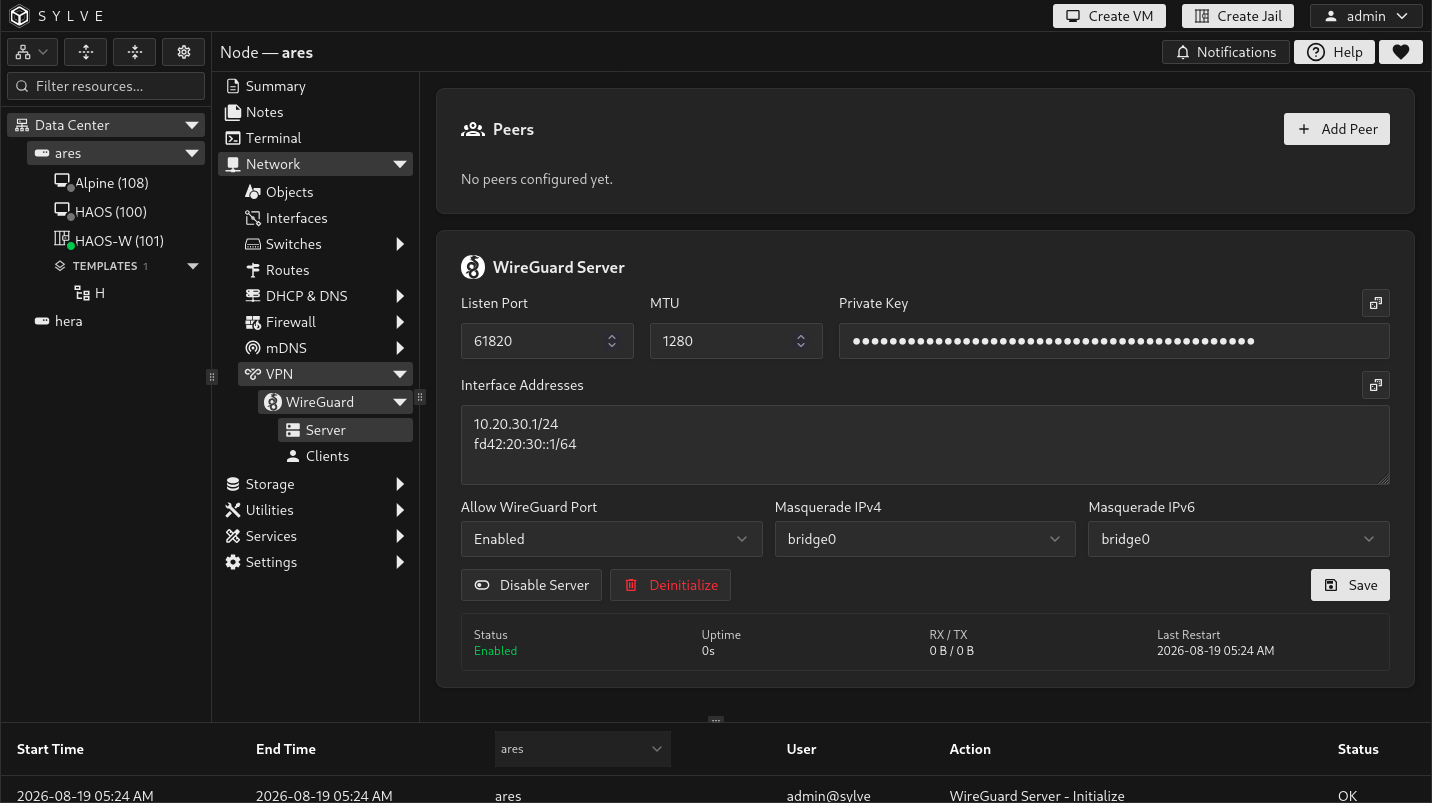
The peer table is where you can see whether each device is enabled, its most recent handshake, and the traffic it has sent and received. A peer that has not recently handshaken may simply be offline or asleep, especially on a phone.
If a temporary startup problem prevents an enabled server from creating wgs0, Sylve keeps the saved configuration and retries the runtime setup every 30 seconds while the WireGuard system service remains enabled. After recovery, it reconciles the managed routes automatically. Persistent errors still require correcting the reported interface, key, address, firewall, or network problem.
Add peers
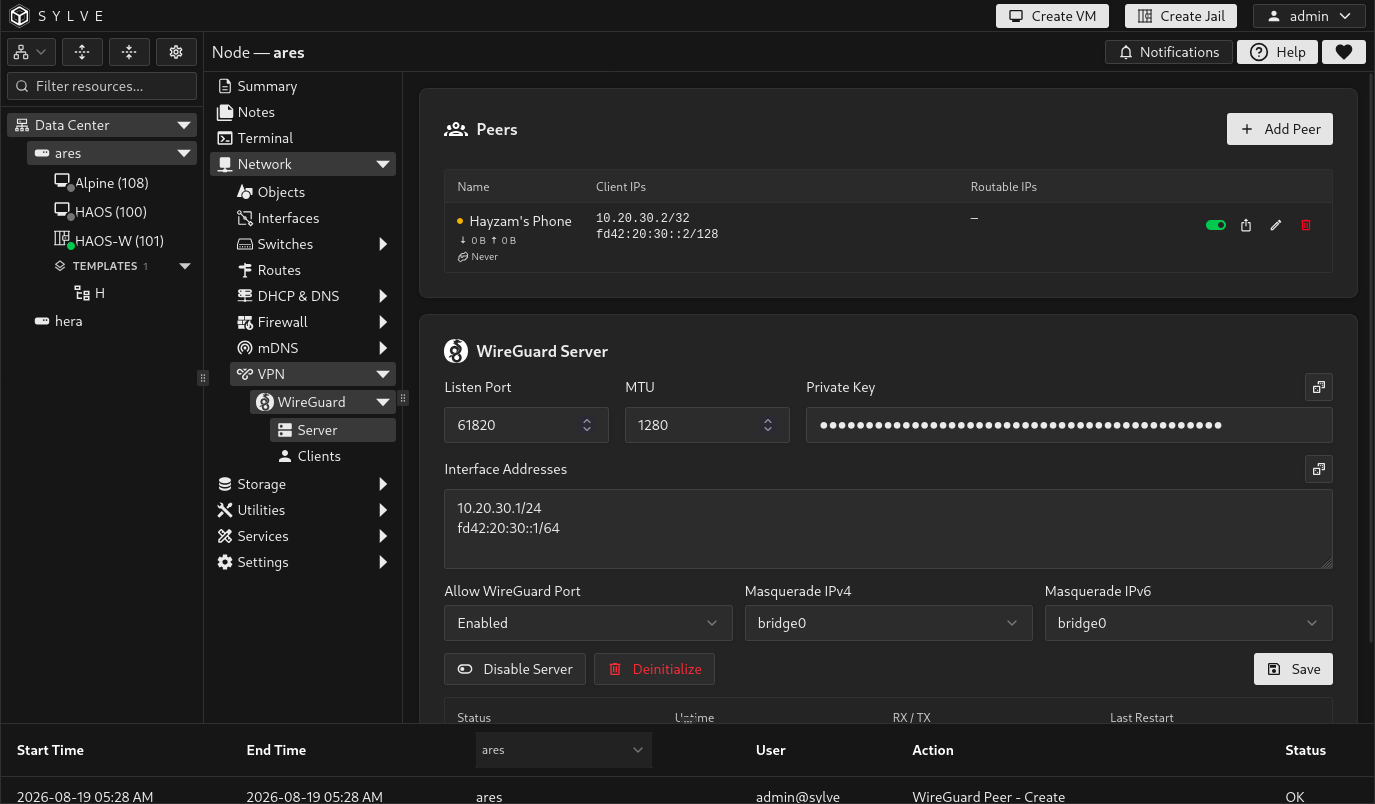
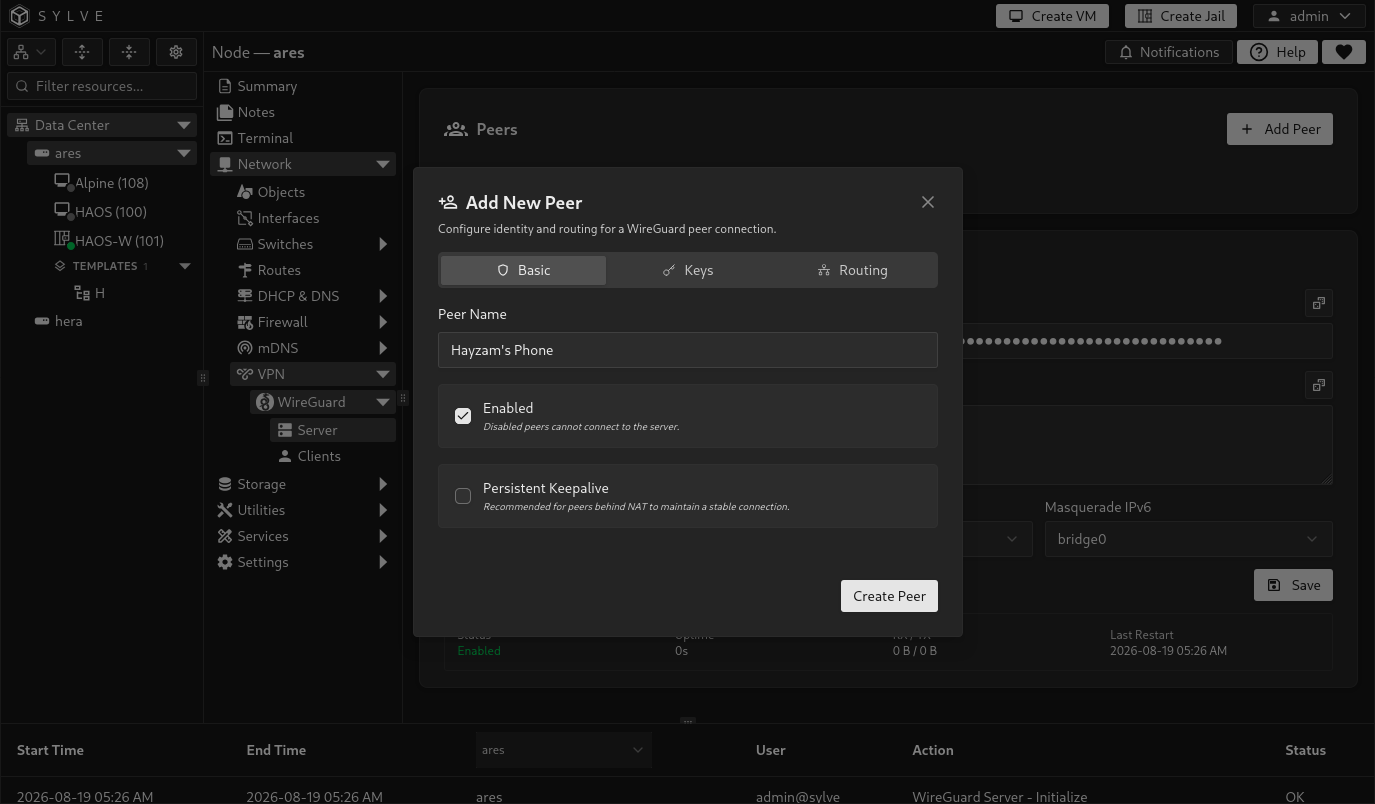
Section titled “Add peers”Each peer represents one remote client or one routed site. Select Add Peer, give it a recognizable name such as Randy's Phone, then configure its identity and routes. Sylve generates the peer private key if it is left blank and derives the public key from it.
| Field | What it controls |
|---|---|
| Name | A required display name for the peer, up to 128 bytes. |
| Enabled | Adds or removes the peer from the active server without deleting its configuration. |
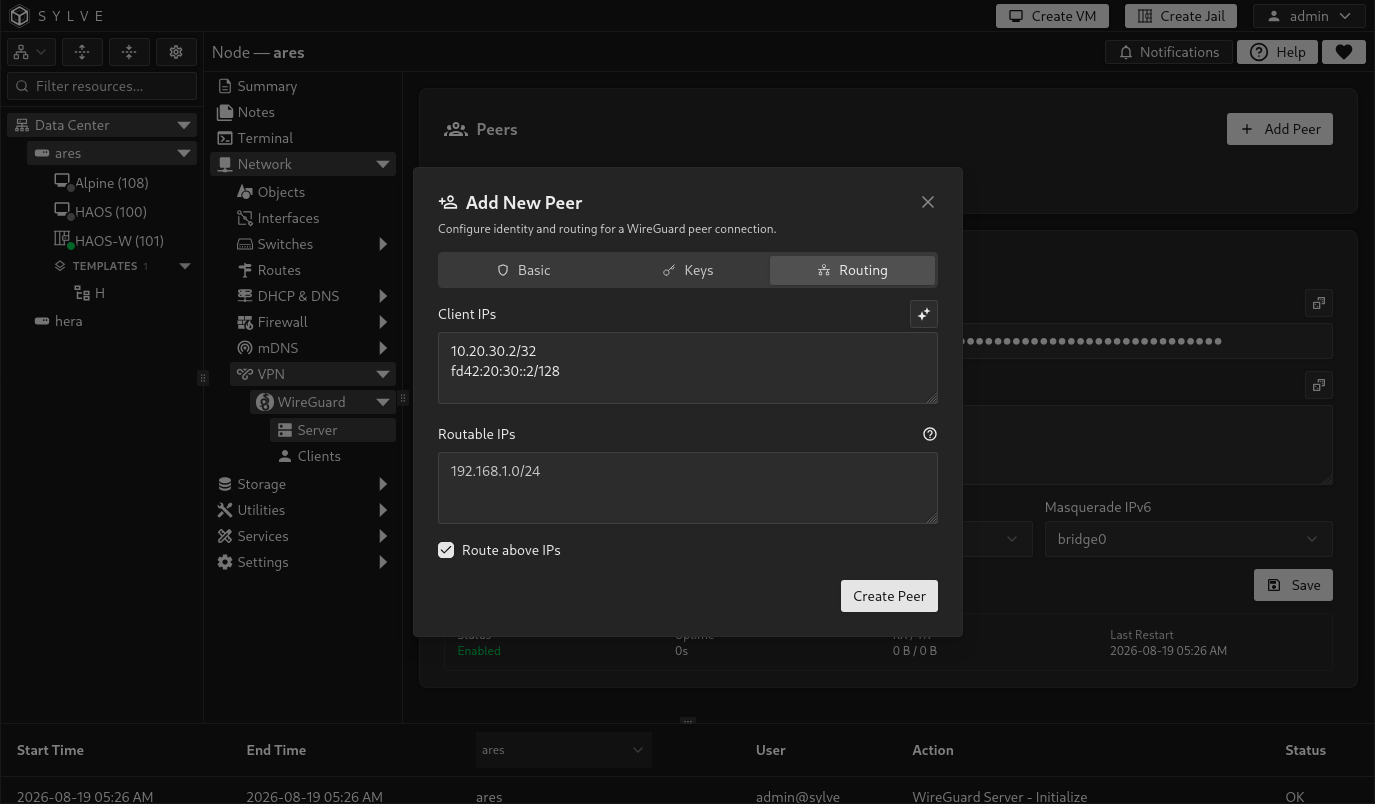
| Client IPs | Required tunnel CIDRs assigned to the peer, one per line. These become allowed IPs on the server side. |
| Routable IPs | Optional networks reachable behind this peer, one CIDR per line. Use these for site-to-site routing. |
| Route IPs | Installs routes for the peer’s client and routable networks on the node. Disable it when another route should handle those networks. |
| Private Key | Peer private key. Leave it empty to generate a new key. |
| Pre-Shared Key | Optional additional symmetric key for the peer. Both ends must use the same value. |
| Persistent Keepalive | Sends keepalive traffic every 25 seconds, useful when the peer is behind NAT. |
Enabled peers cannot share the same public key or the same allowed network. Assign distinct /32 or /128 tunnel addresses to individual roaming clients. For a routed site, add its remote LAN CIDR under Routable IPs.
The Keys tab holds the peer’s private key, derived public key, and optional pre-shared key. The private key is the secret that goes into the peer’s exported configuration. Keep it private. The public key identifies the peer to the server and is safe to share where a public key is requested.
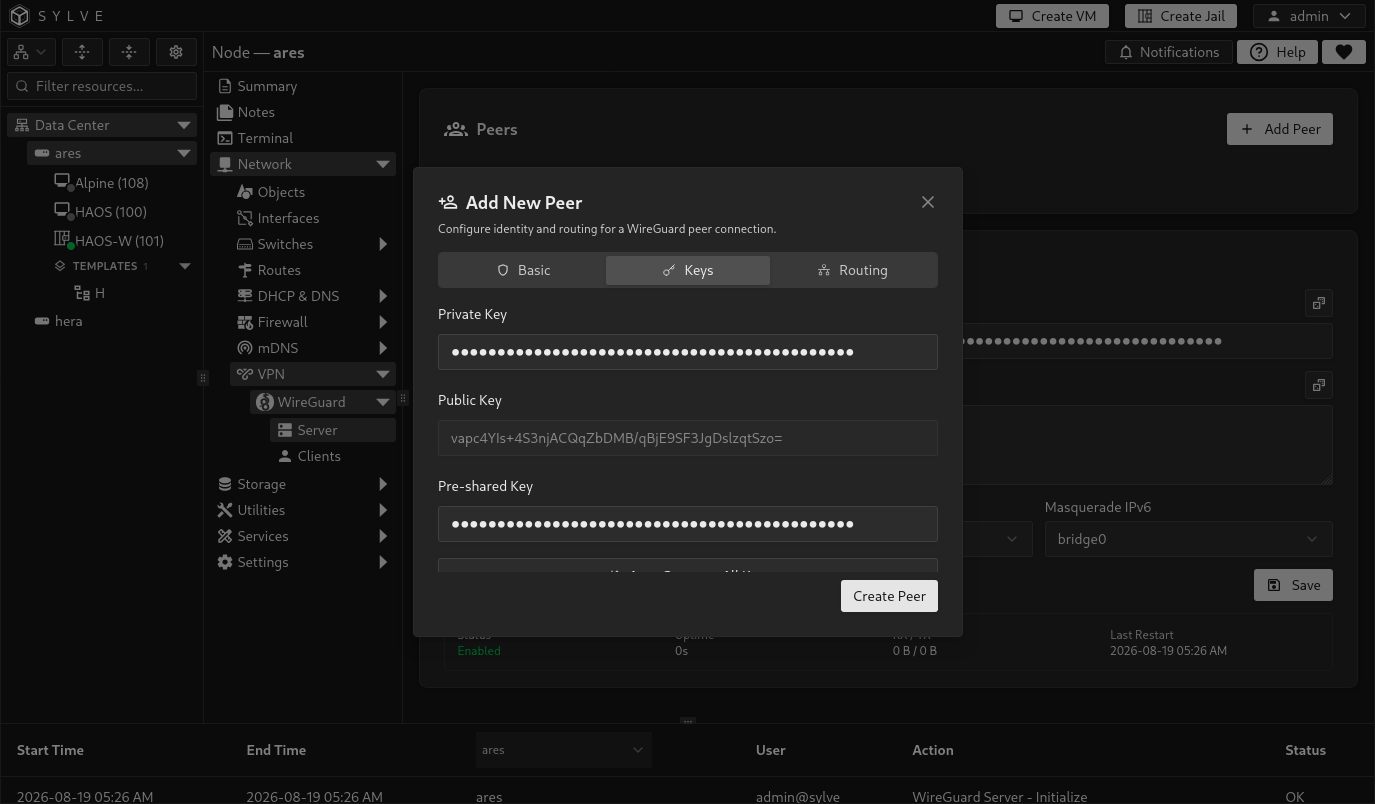
Select Auto Generate All Keys when creating a normal new peer. Use your own keys only when migrating an existing WireGuard client. A pre-shared key is optional but, when used, must be present in the configuration on both ends.
Routing a device or a remote LAN
Section titled “Routing a device or a remote LAN”For a phone or laptop, enter only its unique tunnel IP under Client IPs, such as 10.20.30.2/32. Leave Routable IPs empty unless the peer is itself a gateway for another network.
For a site-to-site connection, add the tunnel IPs plus the LAN behind the remote gateway, for example 192.168.50.0/24, under Routable IPs. Enable Route above IPs when the Sylve node should send traffic for those networks into this peer’s tunnel.
Export a peer configuration
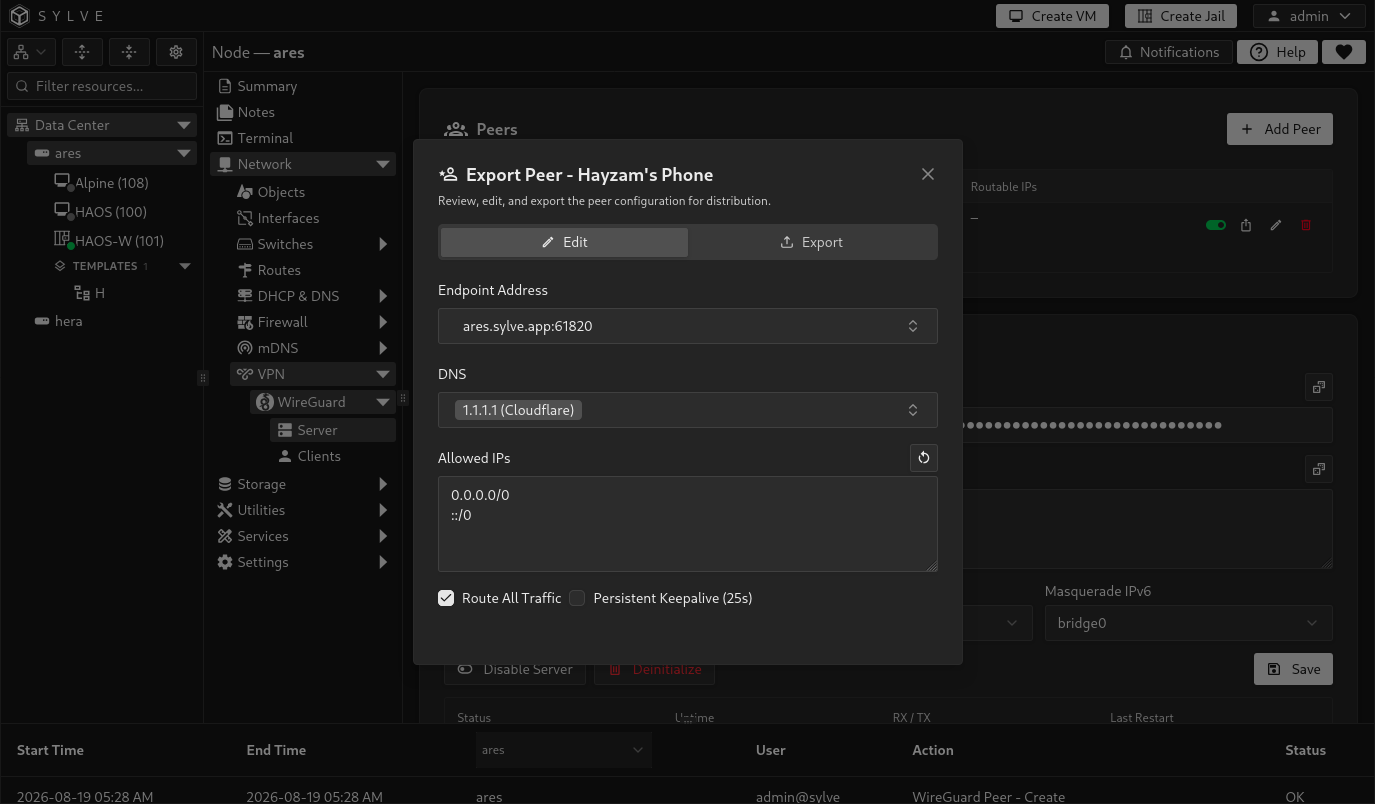
Section titled “Export a peer configuration”Use Export on a peer to create a standard client configuration. Pick the server endpoint, DNS servers, and allowed IPs. The dialog can generate a QR code, show the configuration text, or download a .conf file. Import the downloaded file in the WireGuard client app, or scan the QR code from a mobile app.
| Export option | What to choose |
|---|---|
| Endpoint Address | The public IP address or DNS name that the peer can use to reach this node, followed by the server port. A Dynamic DNS hostname is available when configured. |
| DNS | Resolvers used by the remote device while the tunnel is active. Select one or more listed resolvers. |
| Allowed IPs | The destinations the peer sends through this tunnel. By default, Sylve fills in the server’s WireGuard subnets. |
| Route All Traffic | Replaces the allowed IPs with 0.0.0.0/0 and ::/0, sending all IPv4 and IPv6 traffic through the server. |
| Persistent Keepalive | Adds a 25-second keepalive to the exported client configuration. This is helpful for phones and other clients behind NAT. |
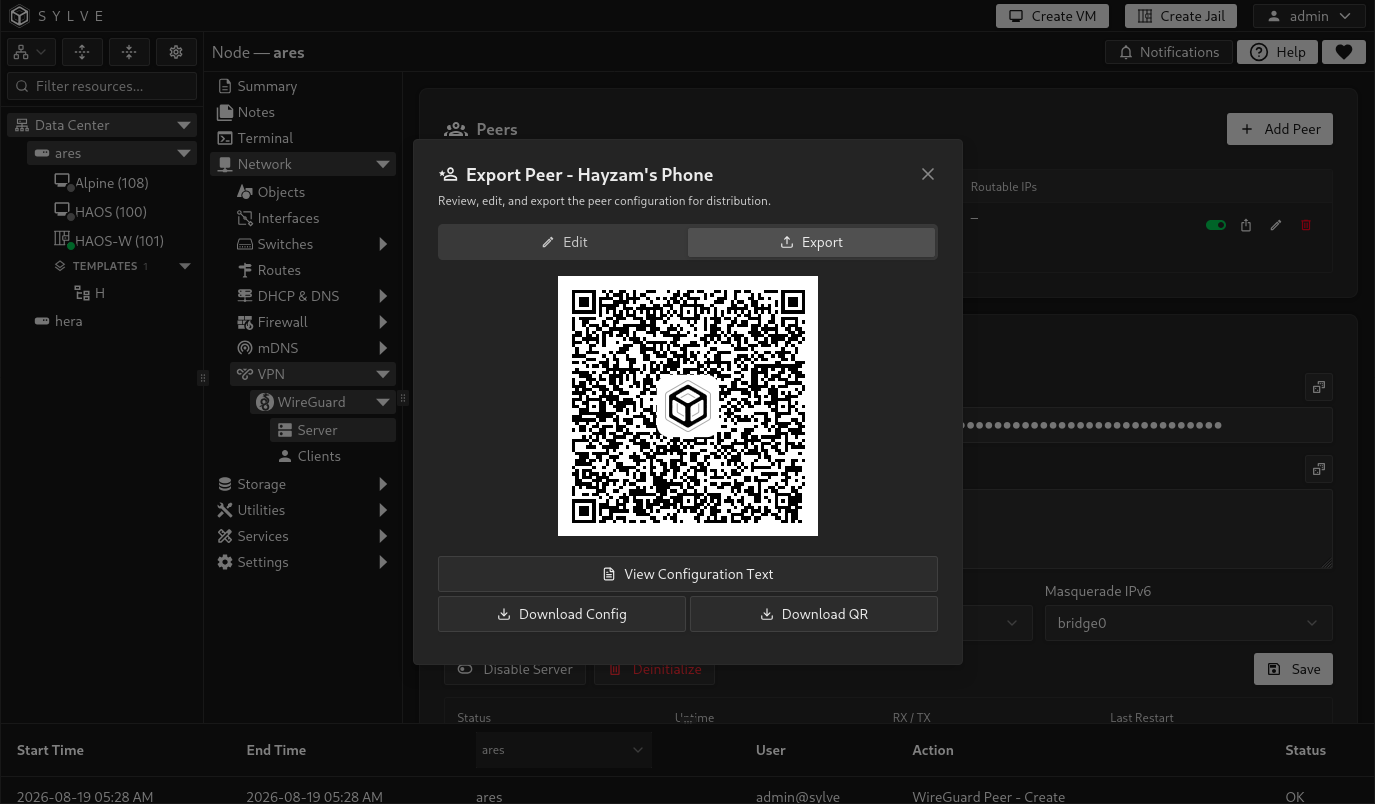
Choose the tunnel networks as allowed IPs when clients should reach only Sylve resources. Enable Route All Traffic only when the node is meant to be the device’s internet gateway too. In that case, configure the relevant masquerade interface during server setup and make sure the node has working upstream internet access.