

Technitium DNS in a Jail
This guide builds on Simple Jail. It covers only the settings and installation steps that differ when the jail will run Technitium DNS Server instead of AdGuard Home.
Follow the Simple Jail guide through Start and verify the jail, applying the changes below while creating the jail. Stop before Install AdGuard Home. Do not install AdGuard Home in the Technitium jail because both applications would try to use DNS port 53.
This guide uses a FreeBSD 15.x amd64 base. The .NET build below is native to FreeBSD 15 and may not work on a different FreeBSD release or architecture without adjustments.
Changes from Simple Jail
Section titled “Changes from Simple Jail”Use the same host networking, jail base, storage, network, hardware, and startup configuration described in Simple Jail, except for the changes in this section.
On the Basic tab, use these Technitium-specific values:
- Jail Name:
TechnitiumDNS - Hostname:
technitiumdns - Description:
Technitium DNS Server
Choose an unused CT ID. Leave the other fields as described in Simple Jail: Basic.
Network
Section titled “Network”The DHCP and SLAAC configuration from Simple Jail works for the initial installation. Before other devices begin using this jail as their DNS server, give it a stable address by reserving its DHCP lease on your router or changing the jail to a suitable static network configuration. A DNS server that changes address will become unreachable from clients configured with its old address.
Advanced
Section titled “Advanced”Keep the default allowed options and leave the custom lifecycle hooks disabled as described in Simple Jail: Advanced. In Allowed Options, additionally select Memory Locking (allow.mlock). The .NET runtime needs permission to lock memory inside the jail.
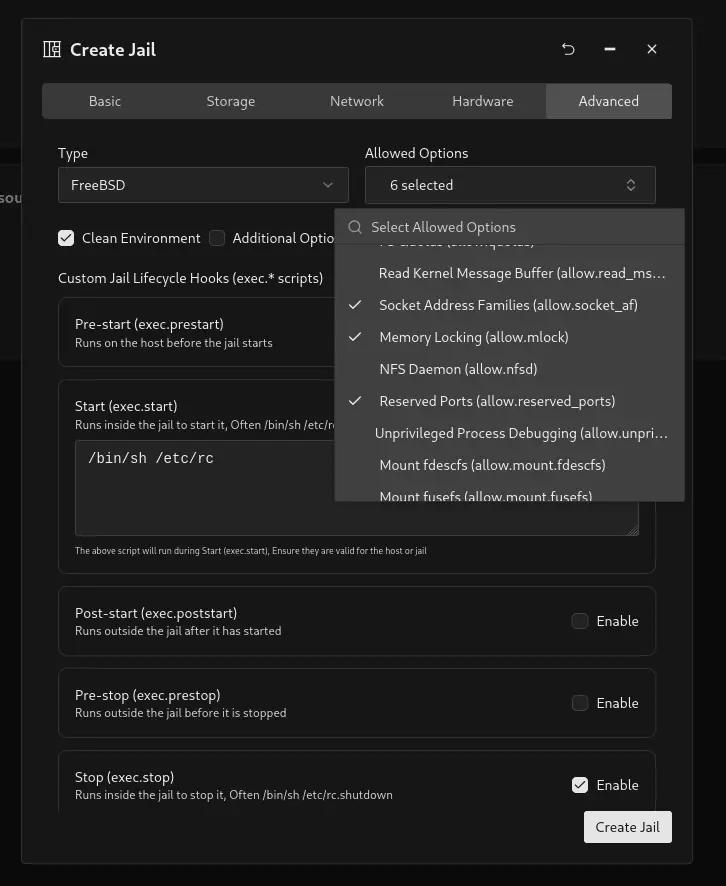
The selected-option count in the screenshot may differ from the current interface. Keep every default selected by Simple Jail and add Memory Locking.
Finish creating the jail, start it, open its console, and note its assigned IP address as described in Start and verify the jail. The remaining commands in this guide run as root inside that jail.
Install .NET 10
Section titled “Install .NET 10”Update the package catalog and install the runtime libraries needed by the community .NET build:
pkg updatepkg install -y libunwind icu libinotifyDownload the native FreeBSD 15 x64 .NET 10 SDK:
mkdir -p /opt/dotnet10cd /opt/dotnet10fetch https://github.com/sec/dotnet-core-freebsd-source-build/releases/download/10.0.110-vmr/dotnet-sdk-10.0.110-freebsd.15-x64.tar.gzsha256 dotnet-sdk-10.0.110-freebsd.15-x64.tar.gzConfirm that sha256 reports this expected value from the community release:
c5cd785168d21d778f64cfd044140d0c30e35ef19324e34a8c94ad3f8e213101If the value does not match exactly, do not use the archive. Remove it and check the 10.0.110-vmr release for updated instructions.
After the checksum matches, extract the archive and remove the downloaded copy:
tar xzf dotnet-sdk-10.0.110-freebsd.15-x64.tar.gzrm dotnet-sdk-10.0.110-freebsd.15-x64.tar.gzVerify that .NET starts:
DOTNET_OPENSSL_VERSION_OVERRIDE=35 /opt/dotnet10/dotnet --infoThe output should identify SDK 10.0.110, FreeBSD 15, the freebsd.15-x64 runtime identifier, and both the Microsoft.NETCore.App and Microsoft.AspNetCore.App runtimes.
Install Technitium DNS Server
Section titled “Install Technitium DNS Server”Download the current portable Technitium DNS Server release into /opt/technitium-dns:
mkdir -p /opt/technitium-dnscd /opt/technitium-dnsfetch https://download.technitium.com/dns/DnsServerPortable.tar.gztar xzf DnsServerPortable.tar.gzrm DnsServerPortable.tar.gzThe download URL tracks the current stable release. You can compare the downloaded archive with the checksum published on the official Technitium DNS Server download page before extracting it.
Test the server interactively:
cd /opt/technitium-dnsDOTNET_OPENSSL_VERSION_OVERRIDE=35 DOTNET_ROOT=/opt/dotnet10 PATH=/opt/dotnet10:$PATH /opt/dotnet10/dotnet DnsServerApp.dllWait for Technitium DNS Server was started successfully, then press Ctrl + C to stop the test process before creating the service.
Run Technitium as a service
Section titled “Run Technitium as a service”Create an rc.d service so Technitium starts with the jail:
mkdir -p /usr/local/etc/rc.d
cat > /usr/local/etc/rc.d/technitium <<'EOF'#!/bin/sh
# PROVIDE: technitium# REQUIRE: LOGIN# KEYWORD: shutdown
. /etc/rc.subr
name="technitium"rcvar="technitium_enable"
load_rc_config "$name"
: ${technitium_enable:="NO"}: ${technitium_user:="root"}: ${technitium_dir:="/opt/technitium-dns"}: ${technitium_dotnet:="/opt/dotnet10/dotnet"}: ${technitium_dotnet_root:="/opt/dotnet10"}: ${technitium_openssl_override:="35"}
pidfile="/var/run/${name}.pid"procname="${technitium_dotnet}"command="/usr/sbin/daemon"
command_args="-f -p ${pidfile} -u ${technitium_user} /usr/bin/env \DOTNET_OPENSSL_VERSION_OVERRIDE=${technitium_openssl_override} \DOTNET_ROOT=${technitium_dotnet_root} \PATH=${technitium_dotnet_root}:/sbin:/bin:/usr/sbin:/usr/bin:/usr/local/sbin:/usr/local/bin \${technitium_dotnet} ${technitium_dir}/DnsServerApp.dll"
run_rc_command "$1"EOF
chmod +x /usr/local/etc/rc.d/technitiumsysrc technitium_enable=YESservice technitium start
Confirm that the service stays running:
service technitium statusThen confirm that its DNS and web-console ports are listening:
sockstat -4 -6 -l | grep -E '(:53|:5380)'You should see TCP and UDP listeners on port 53 and a TCP listener on port 5380. If port 53 is already occupied, stop the conflicting DNS service before starting Technitium again.
Complete setup in the web console
Section titled “Complete setup in the web console”From another device on the same network, open:
http://<jail-ip>:5380/Replace <jail-ip> with the address you noted earlier. Sign in with the default username admin and password admin, then change the password immediately before configuring zones, forwarders, or client DNS settings.
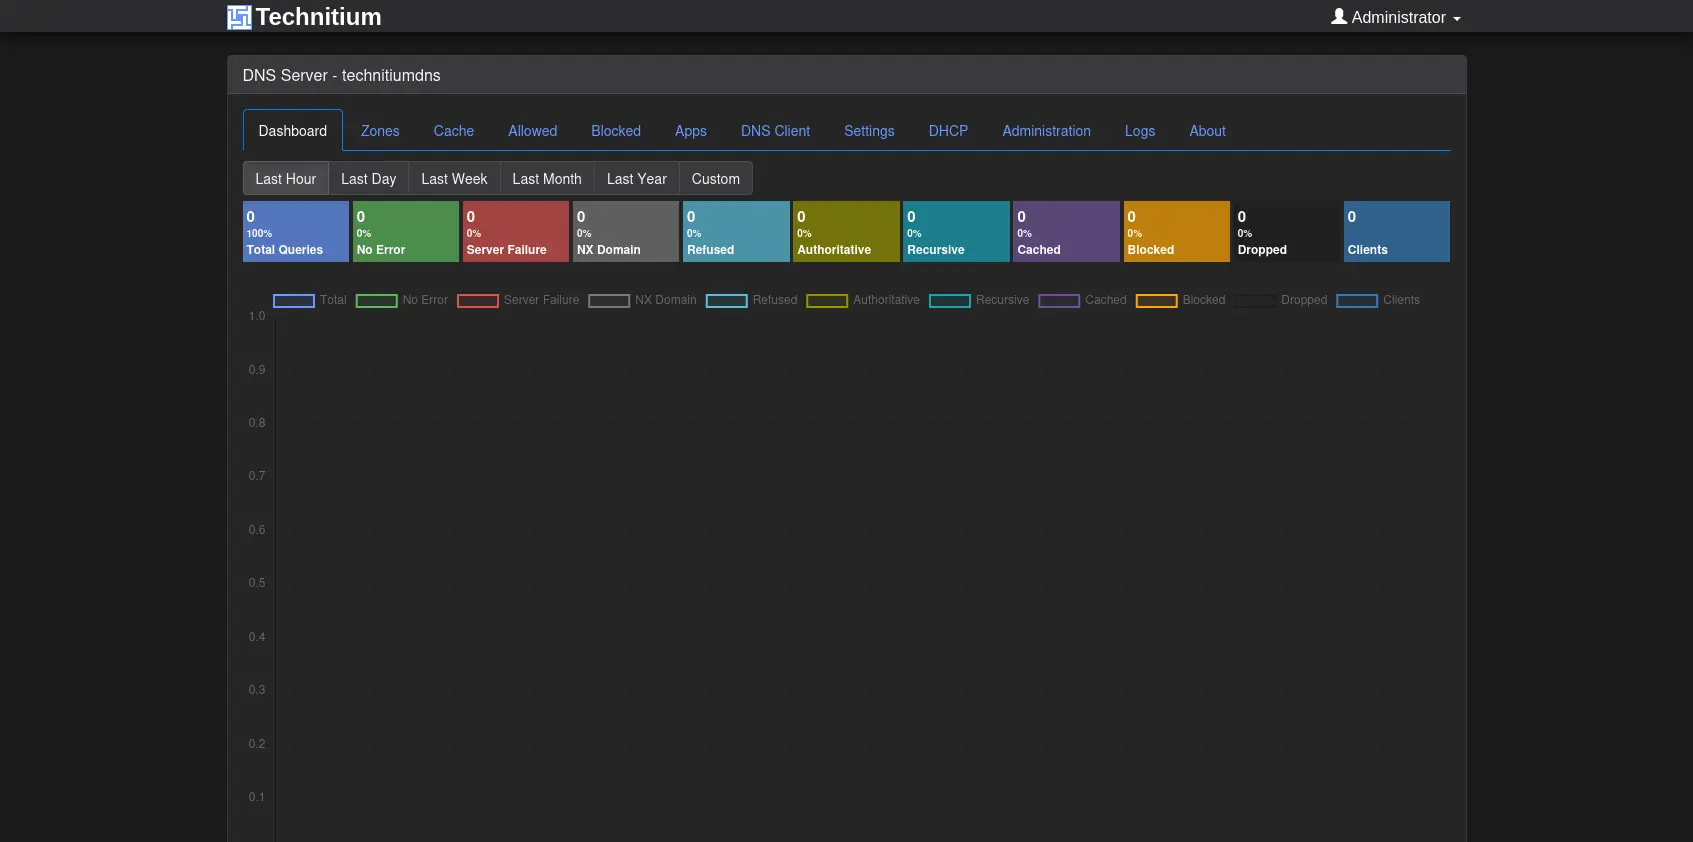
Your Technitium DNS Server is now running in a jail and will start automatically whenever Sylve starts the jail. Before making important configuration changes, create a jail Snapshot or Backup.